Across a fire swept hell – 15mm WW2 Derna Airfield game
2May 19, 2020 by wargamerchris
During our time inside, I’ve fallen into a desire to get back to some games that I haven’t had time for in the past decade because of work and time on the road.
This game has been under construction for six weeks and we finally played it the other night. Across a fire-swept hell recreates the first battles at the airfield outside Derna as the Australians follow up on withdrawing Italians in the Benghazi Handicap.
Those of you who know me that much of my gaming history my favorite period was WW2 and I have built massive collections for many nations in 20mm to run convention games over the past 15 years. About 6 years ago, after a ton of investment and preparation, I ran a convent game of Antsirane (British vs Vichy) which didn’t work out as well as I hoped with respect to number of players and the experience left me cold. I walked away from my primary collection and began running simpler historical games – moving to other periods and running with simpler rules.
I still have all those figures, but I decided to begin a 15mm WW2 gaming collection – initially focused mostly on East Africa 40-41 as well as the North African and Tunisian campaigns. In six weeks I’ve amassed a lot of painted figures and vehicles – and this was our first scenario.
For details of the scenario, I recommend the Benghazi Handicap supplement by Command Decision Test of Battle games. (Frank Chadwick and all). A reprinted version is available in the US from On Military Matters – among the best gamer focused booksellers on the planet.
This scenario is based on a single reinforced Australian battalion assaulting an Italian force of parachutists with reinforcing AA, artillery, and very modest armored forces.
Rules are Command Decision Test of Battle, scale 15mm, and figures are mostly Battlefront, Command Decision (in the US by Old Glory) and select odds/ ends including a 3d printed M11/39
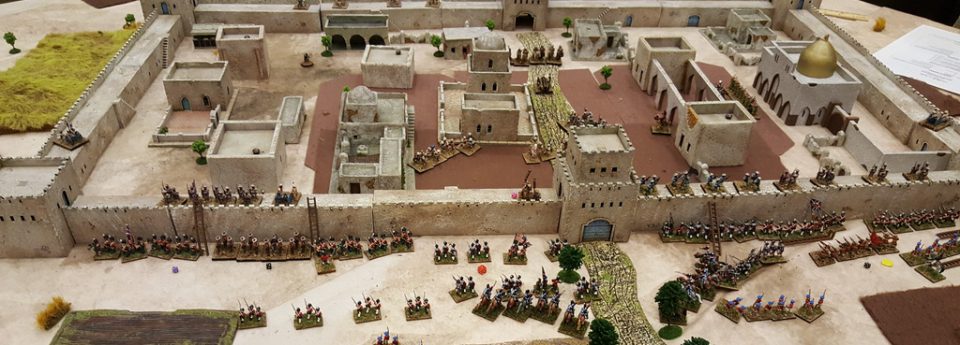
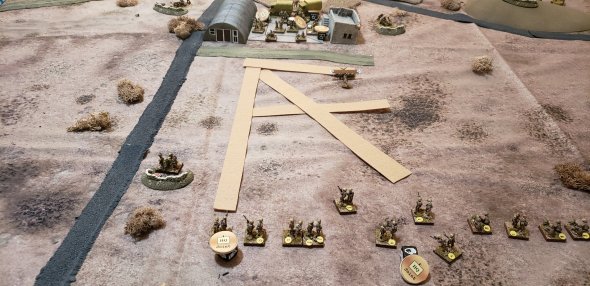
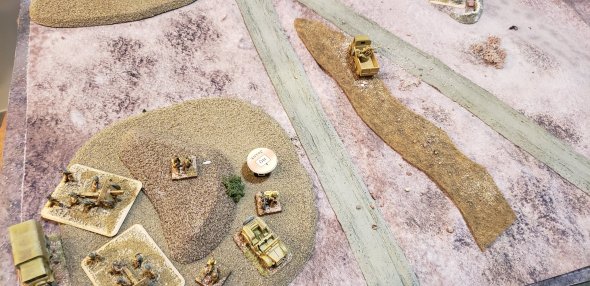
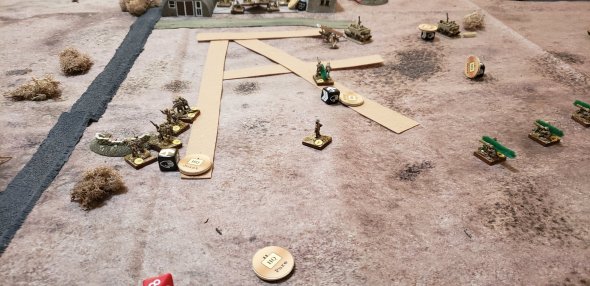
Overview of the table from the Australian side at the bottom of the photo. The airfield is fairly obvious, the BUA to the top of the photo is the Farm – the second objective,

Following the advice in the scenario book, my Australian battalion, including one elite company (C, under MAJ Honner) begins aggressively crossing the airfield to attack the hangars/ BUA.
The Italian outpost on the left is the Bersaglieri motorcycle platoon. They were bombarded by 3 inch mortars and then assaulted by C coy. They were forced back and ended the game ivo the hangers.
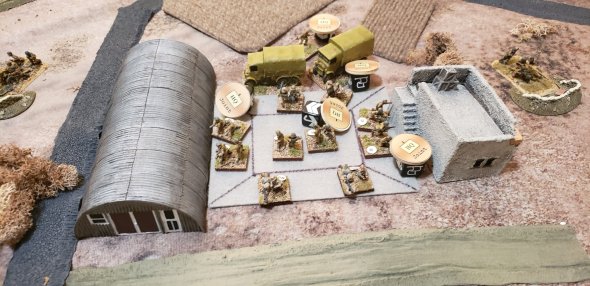
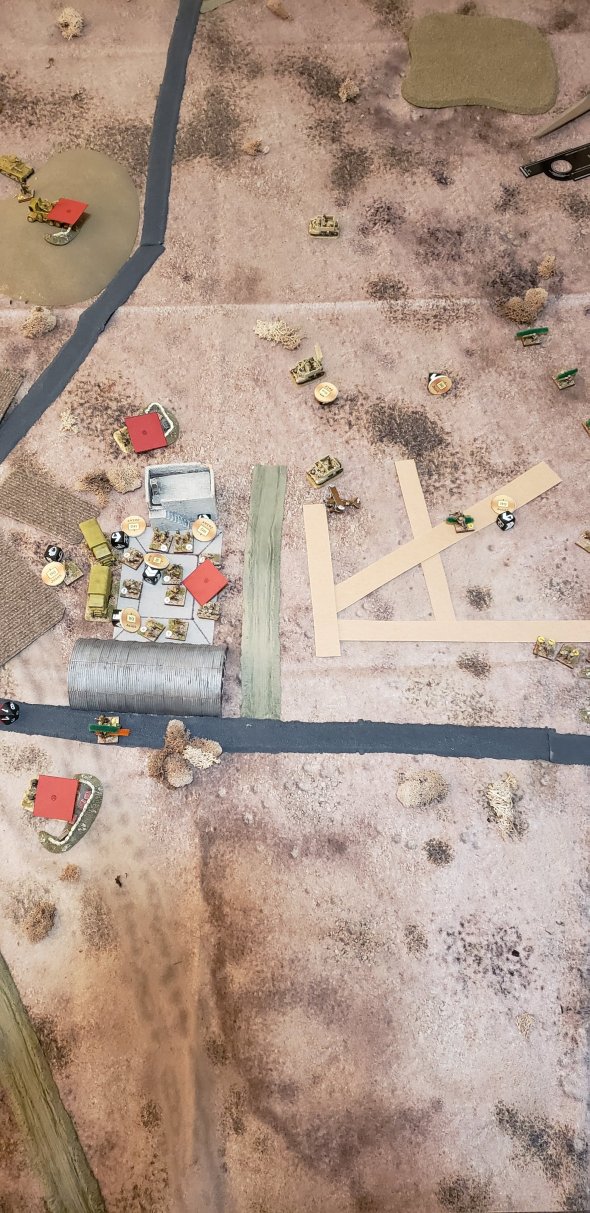
The clever Italian Battalion commander weighted his parachute forces forward, with three companies in the hanger BUA, and reinforcing MG company as well. This firepower was ultimately decisive in the second turn.
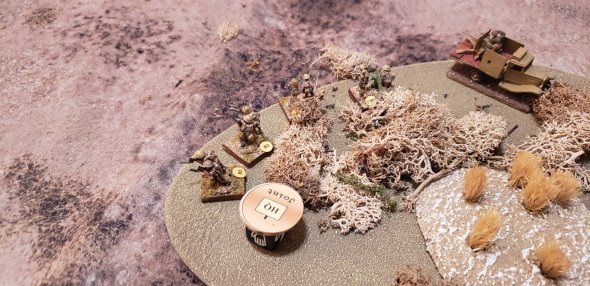
The British left flank was anchored in desert scrub – B coy and the 3″ mortars along with the attached 2pdr portee
The Italian artillery begins on turn 1 in the assembly area – entering on turn 2. The two 75mm batteries weren’t really needed in the end.
The artillery was accompanied by a mg company – they quickly backstopped the parachutists by occupying the farm BUA.
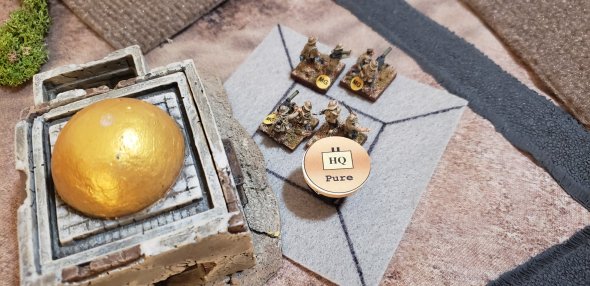
The Italian left was the HQ of Grupo Pancano and one of the two 20mm AA Portees and the sole platoon of M11-39’s deployed behind the hill.
The parachutists had two 47mm ATG batteries – both of which took flanking positions around the hangers.
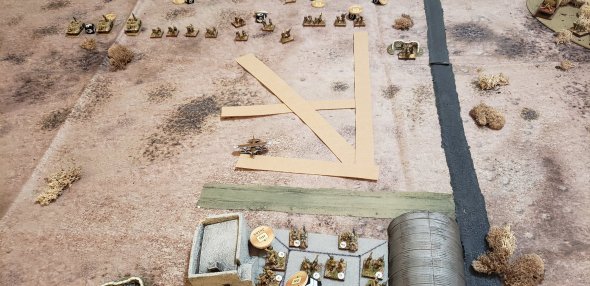
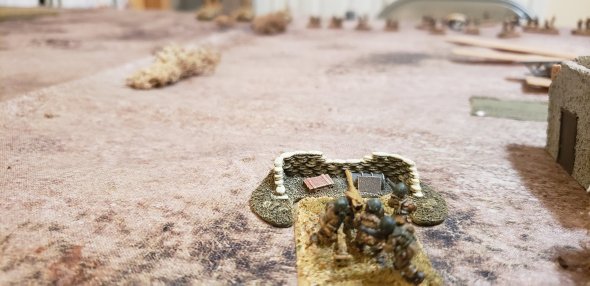
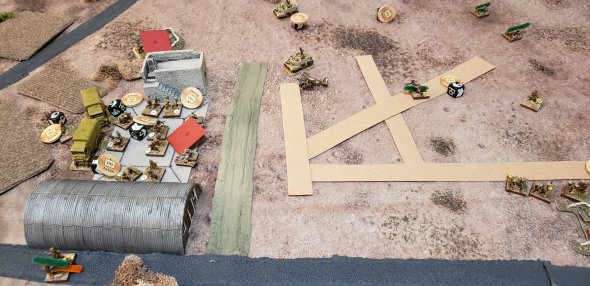
Then Turn 1 opfire happened, and the Australian plan disintegrated: five platoons of the main effort were eliminated by extremely high rolls by the crafty Italian player – and the supporting MG company lost a stand and blew it’s morale roll later in the turn – they all were forced back and pinned – making coordinated assault on the hangers much harder. The Italians took no hits in the subsequent fire phase.
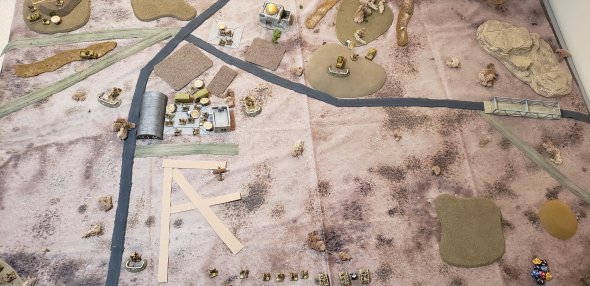
Another view of the Australian plan breaking down
One scenario mistake I made was giving the Australians the 3 25pdr batteries for supporting fires from Turn 1 (they start at Turn 3 in the reinforcements). Only one battery actually hit a target – suppressing the 20mm portee on the hill – otherwise fruitless. It became a theme.
I’ll spare you the pain – with Turn 1 casualties like this, the Australians didn’t have a chance.
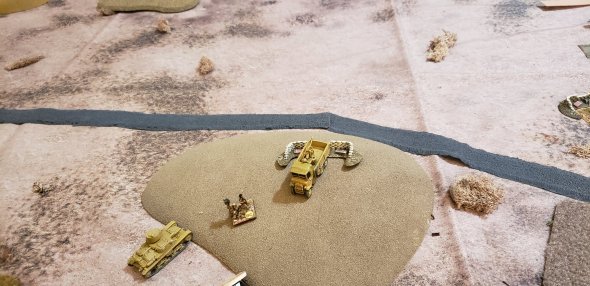
My Italian commander was smug and had destroyed all three of my reece carrier platoons by the end of op-fire in Turn 3, and I was down to three infantry stands not pinned/ forced back. The Australian Brigade commander called off the attack and pulled back from the airdrome.
We agreed that the scenario heavily favors the Italians in terms of firepower and the BUA’s make them very resilient under fire despite their slightly lower morale and troop quality.
Rather than just move on, we decided to leave the terrain and send reinforcements from the Australian brigade to play another scenario tomorrow – adding some Matilda tanks and more infantry to give it another go.
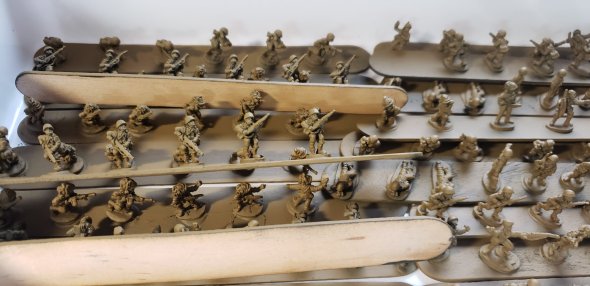
In the last six weeks, I’ve painted 600 miniatures and more than 50 vehicles for the East African campaign and North Africa. I said I would never do this, but here I am!
CAN THE AUSTRALIANS EVER WIN THIS SCENARIO????
I remember why I loved CDTOB – plays very fluidly and allows big stories to play out relatively quickly. More to come.

Great looking game- glad it refreshed your mojo.
Cheers,
Pete.
LikeLiked by 2 people
Chris, would you by any chance still have the details of the Madagascar scenario to hand? I seem to recall coming across the old Command Decision forum but sadly that site is dead.
LikeLike