The road to White Plains: Live Free or Die Rules – 10mm AWI
3October 4, 2021 by wargamerchris
When Little Wars TV announced they were releasing an episode on Brandywine, and using their new home-brew rules for the AWI, I was interested, but not thinking much of it. The episode was great, but I really found the visual appeal of the 10mm game very compelling. Six or seven years ago I purchased a mostly painted 10mm AWI collection – RIDICULOUS – as I already had 15mm AWI done and have rarely played an AWI game with them!
As it happens, other than painting up a couple of units and basing some of them, these fellows sat in their patient ranks in the storage cabinet with many other armies. However, in the last day or so my son pointed out that he only had a handful of days he could play a game during the fall band season, so I cobbled this together.
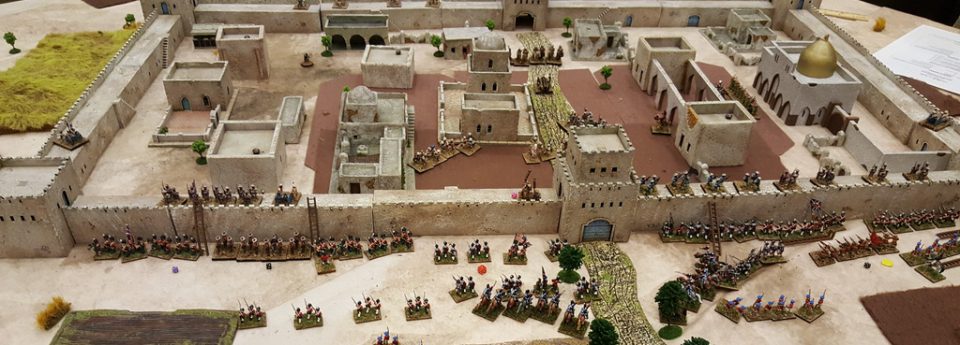
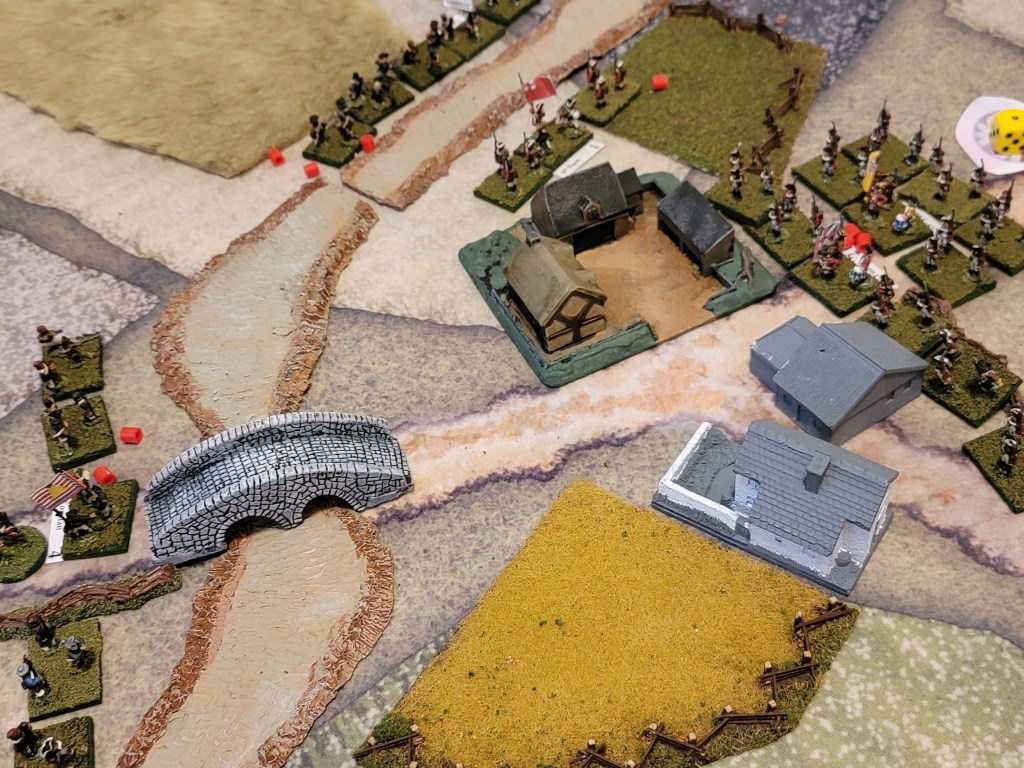
The scenario was primarily set around the events leading up to the Battle of White Plains. The British had three seasoned brigades (Two British and one Hessian) attacking from the South in the area of Mamaroneck/ Rye days before the historic battle. Heister (7CP, 2 stars) was in overall command, with von Rall’s (4CP, 2 Stars) brigade of Hessians on his left and Leslie’s (0CP, 2 Stars) brigade coming from the east. The American army defended Compton’s Corner – a smaller town east of the Maroneck river as well as Sutton – a small town on the main road to White Plain.
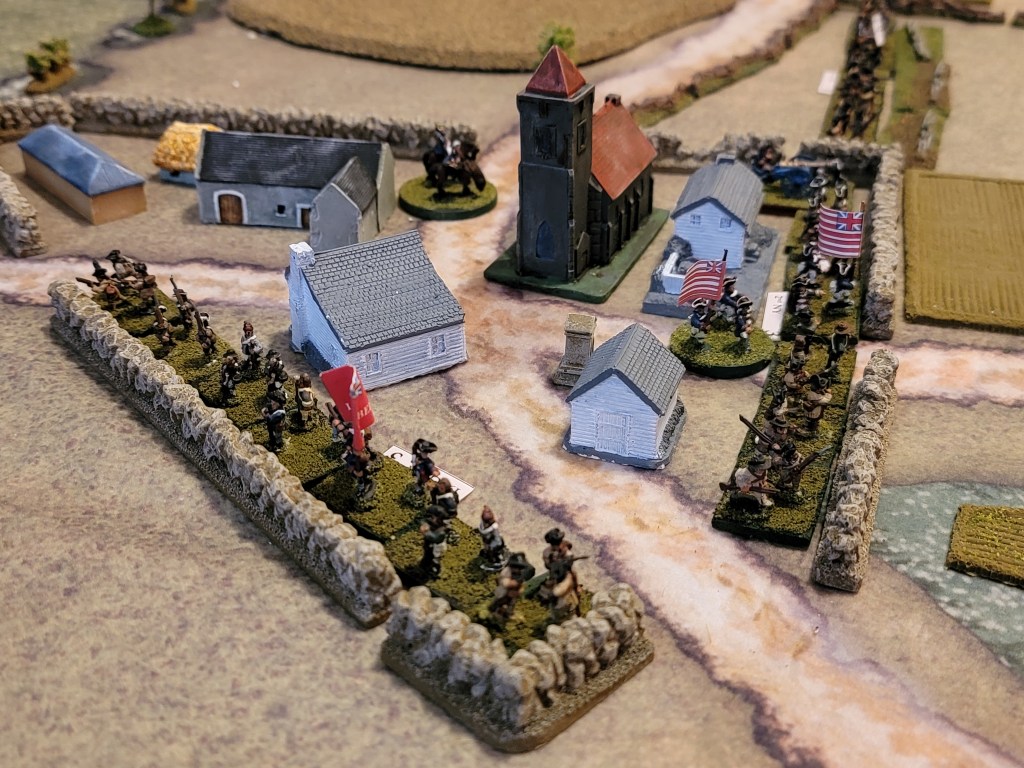
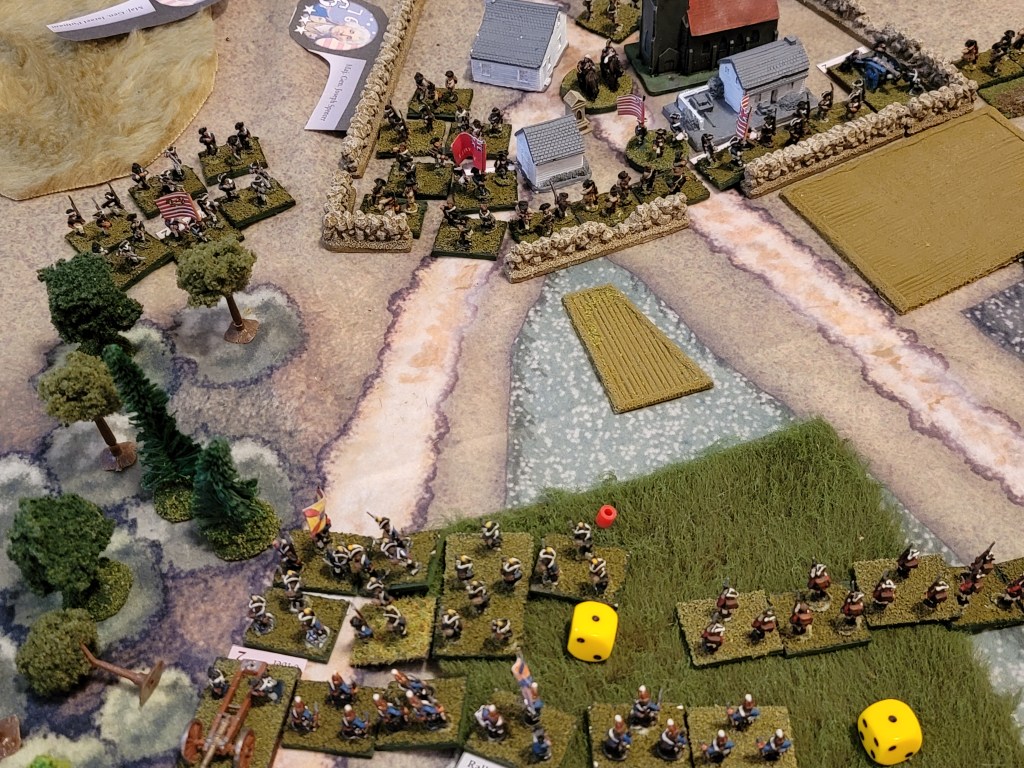
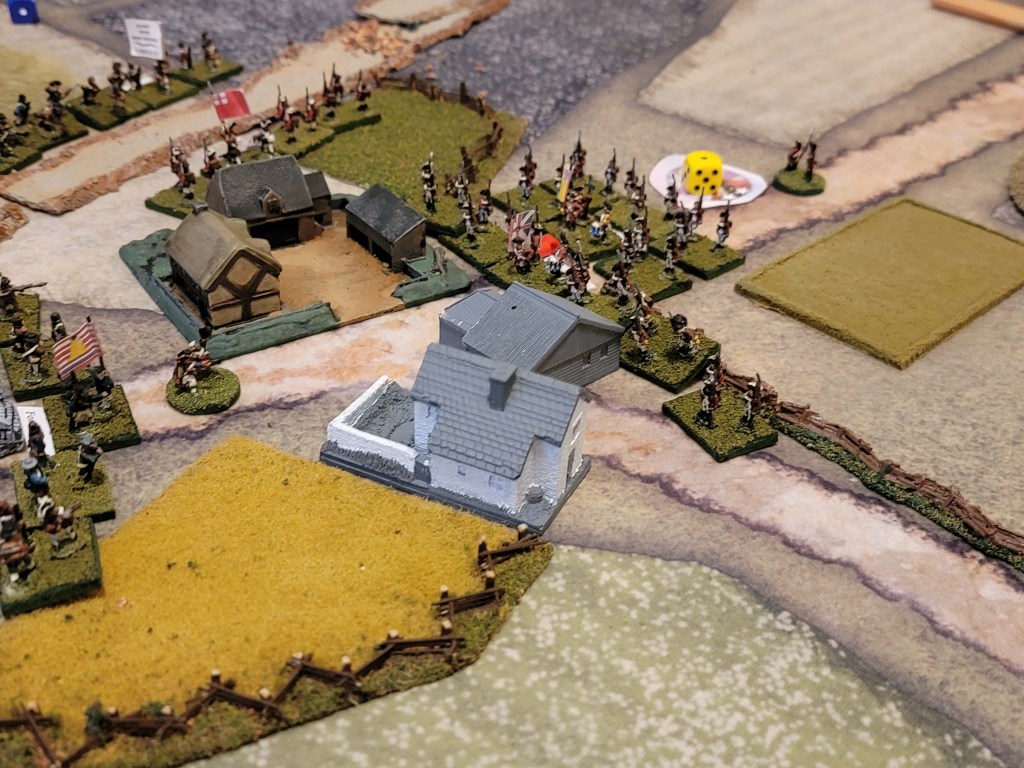
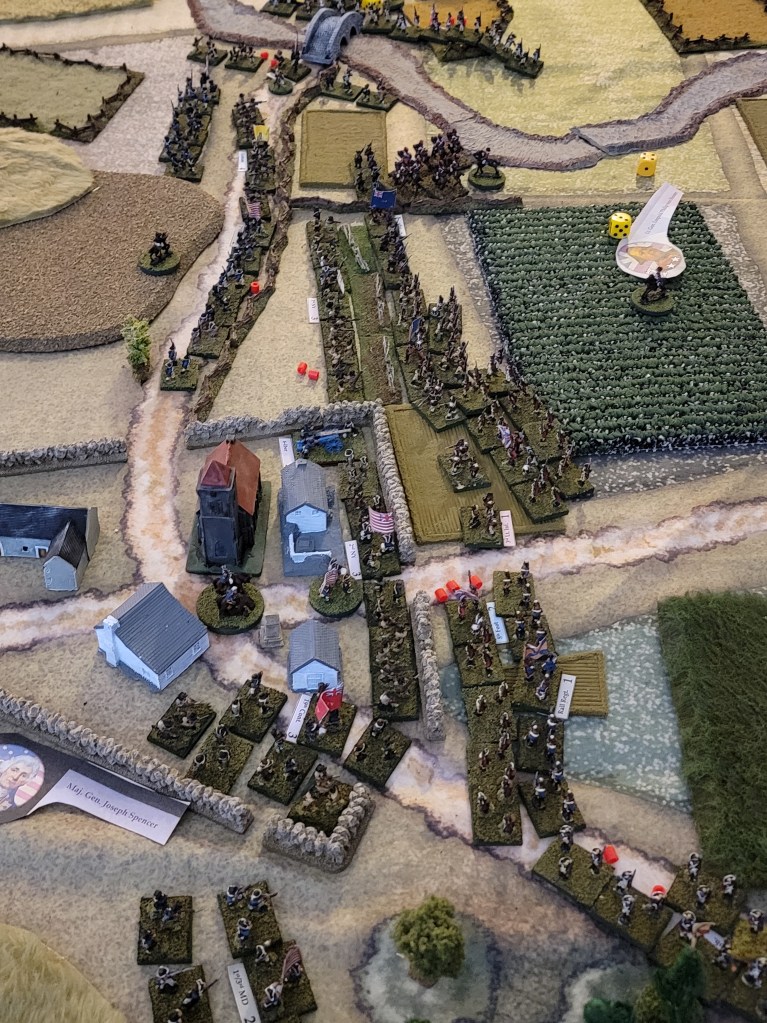
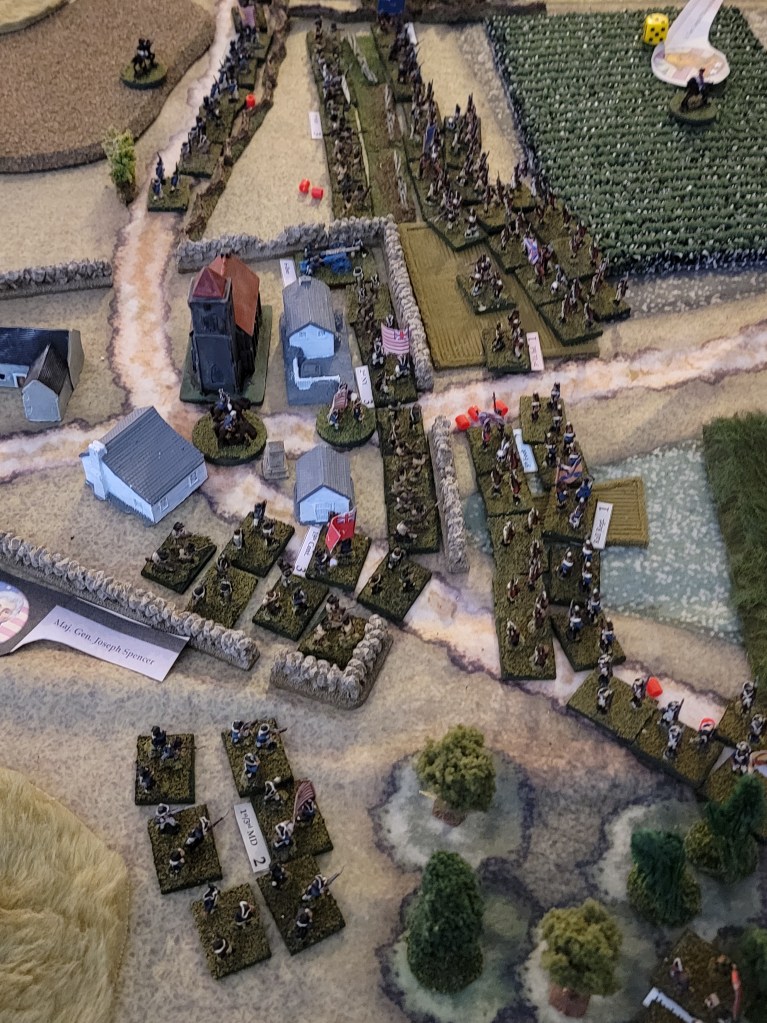
Sutton – occupied by the American Army 
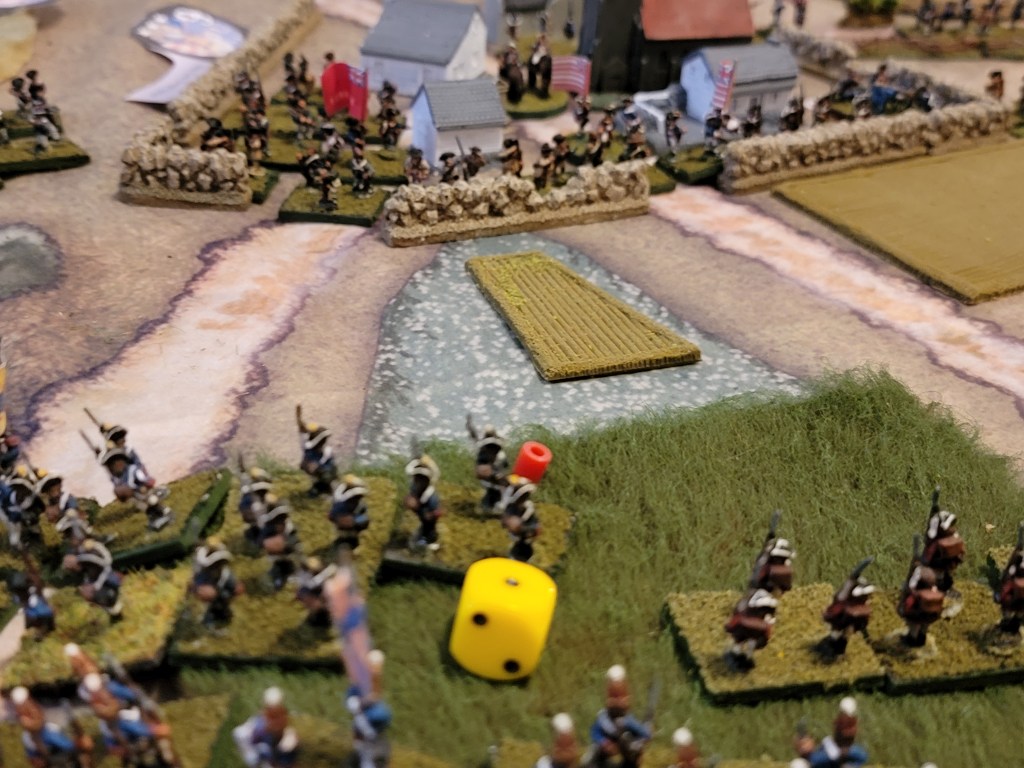
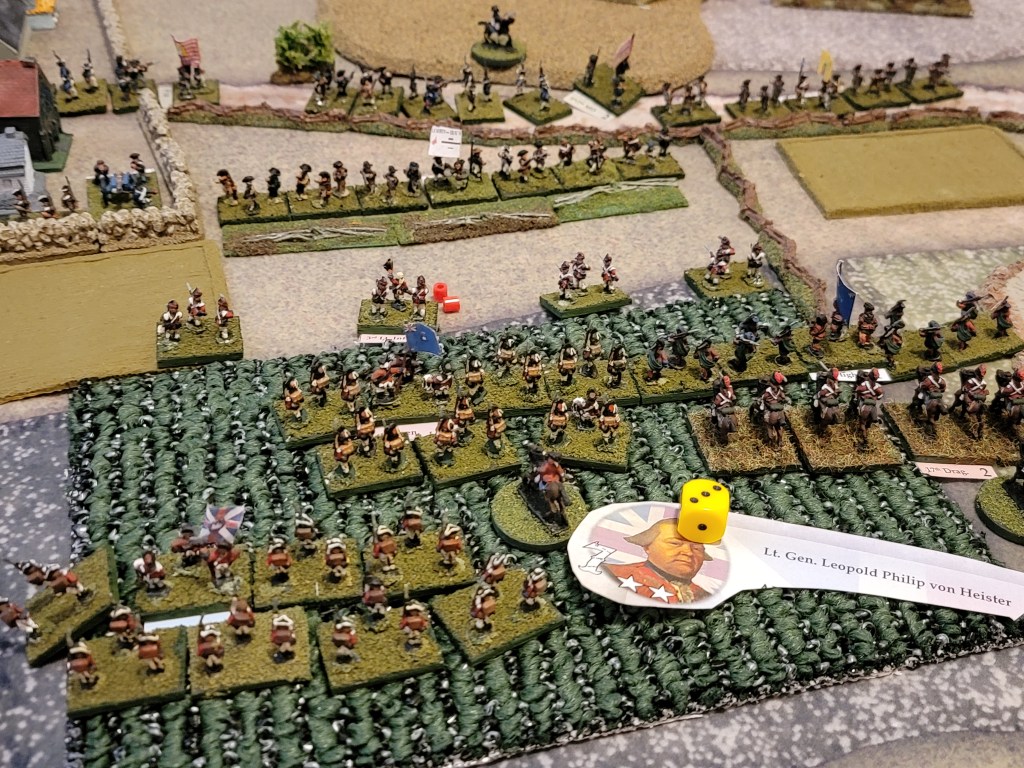
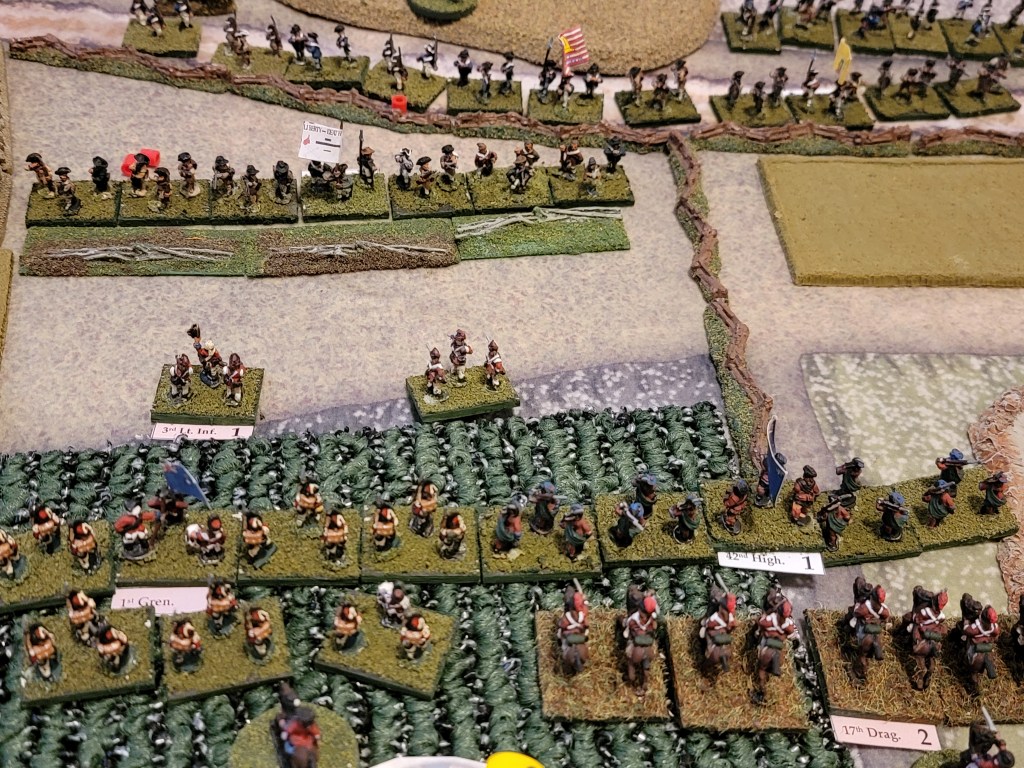
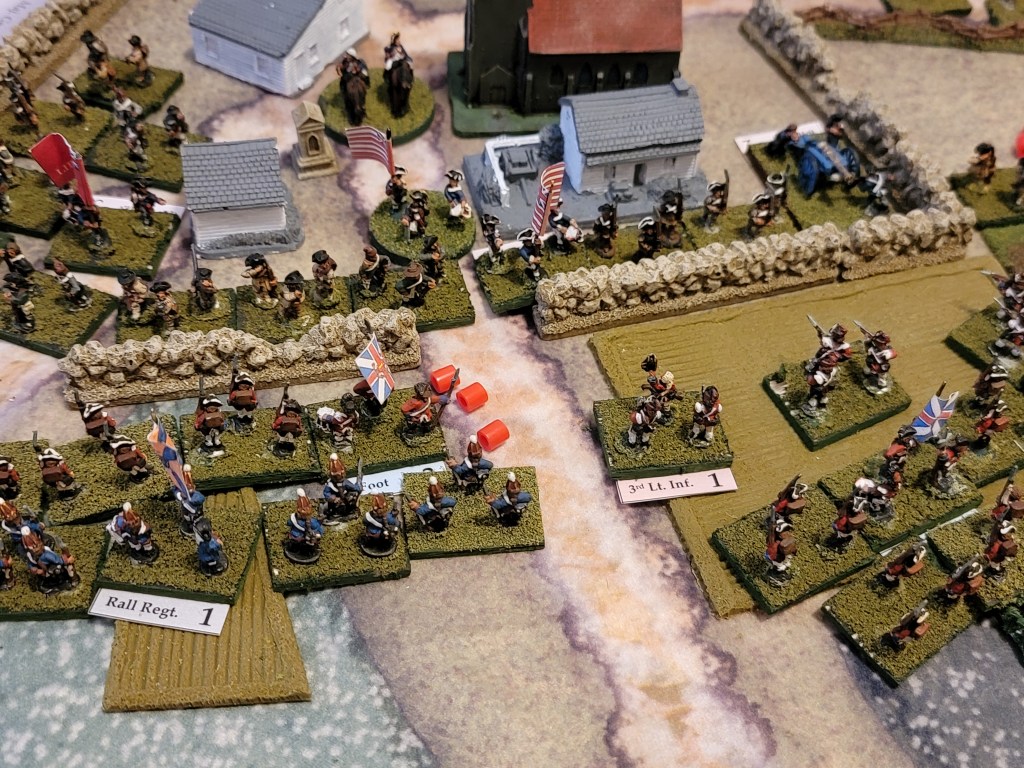
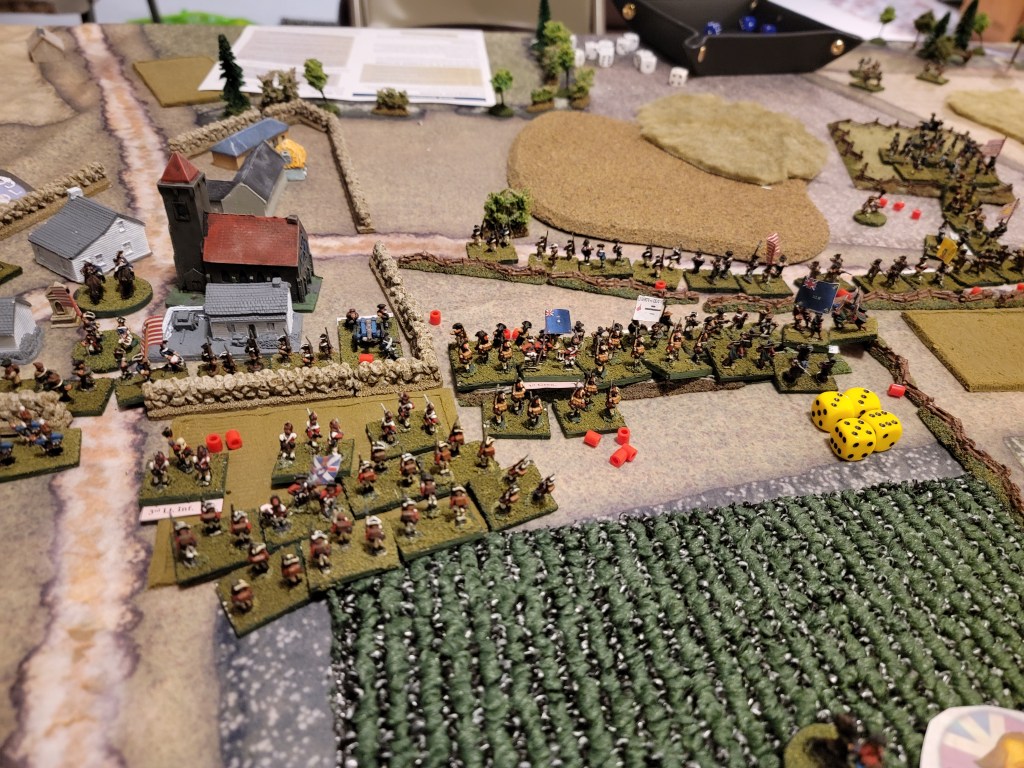
Heister’s Brigade including grenadiers and the 42nd Highlanders advance on Sutton 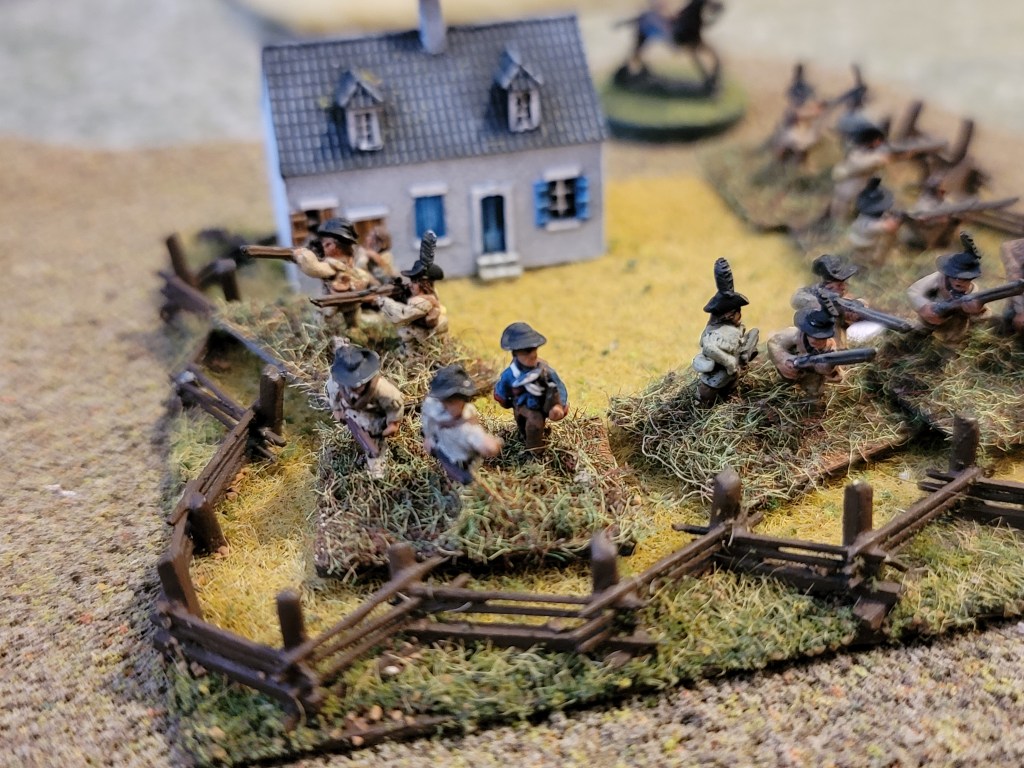
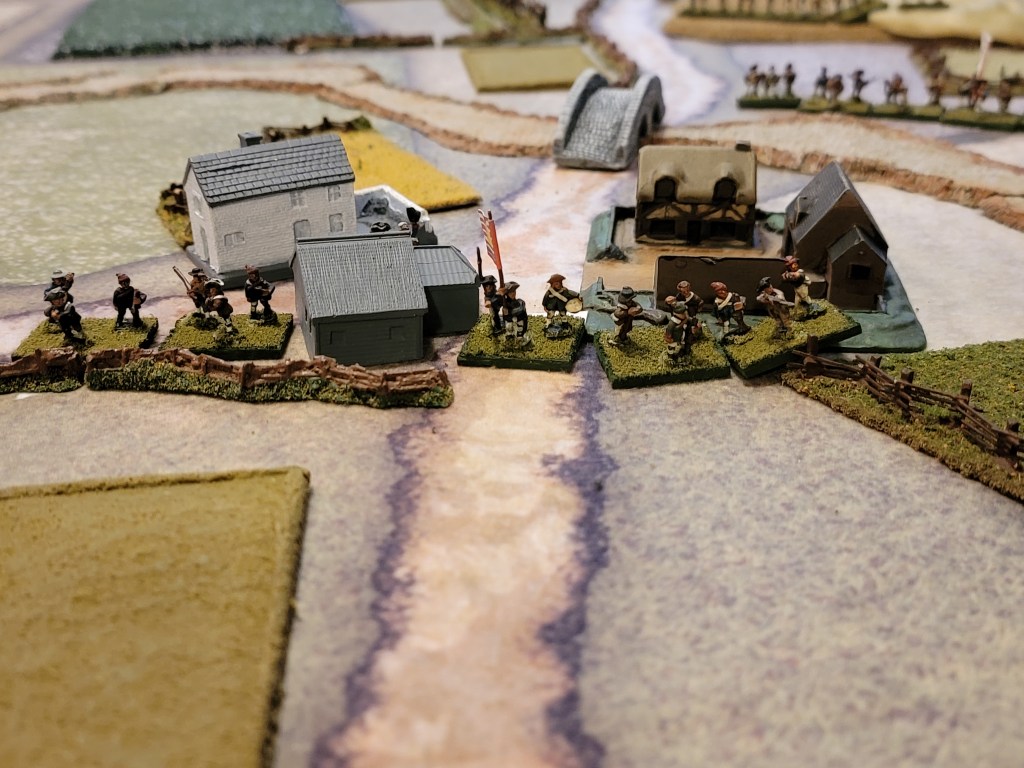
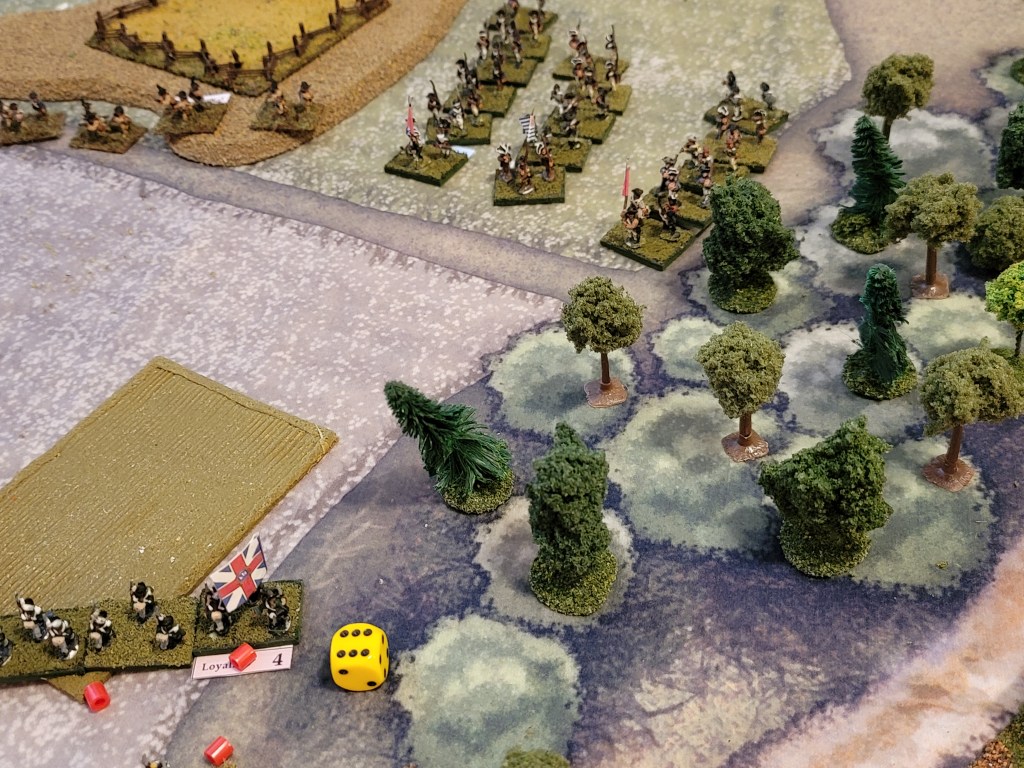
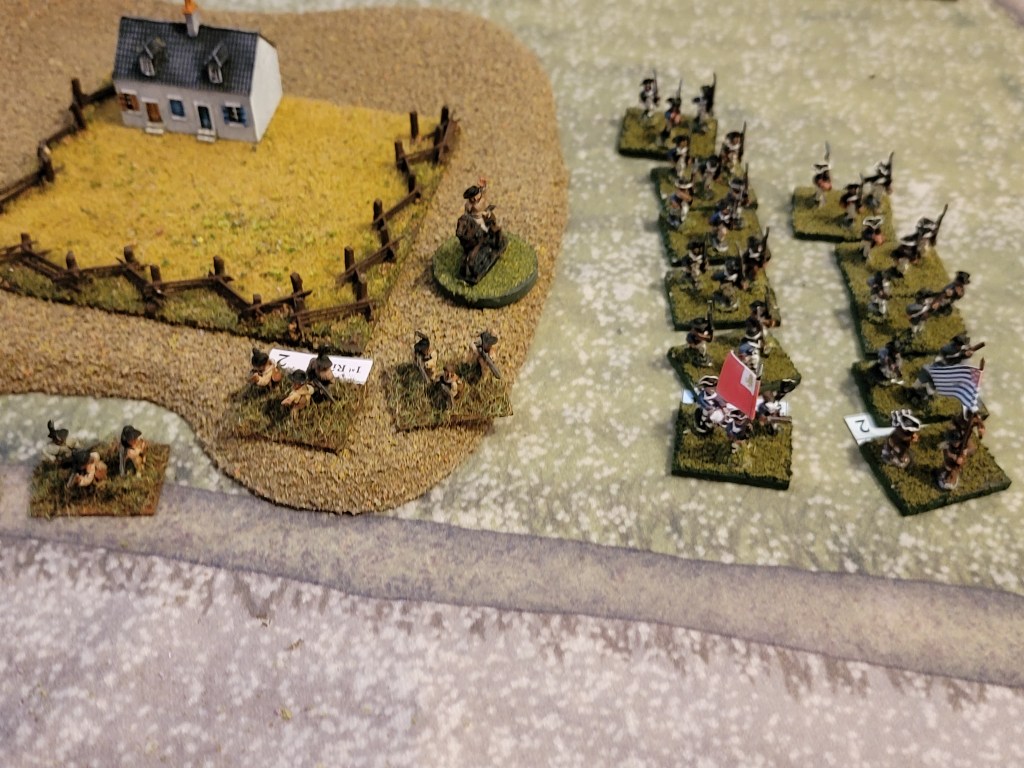
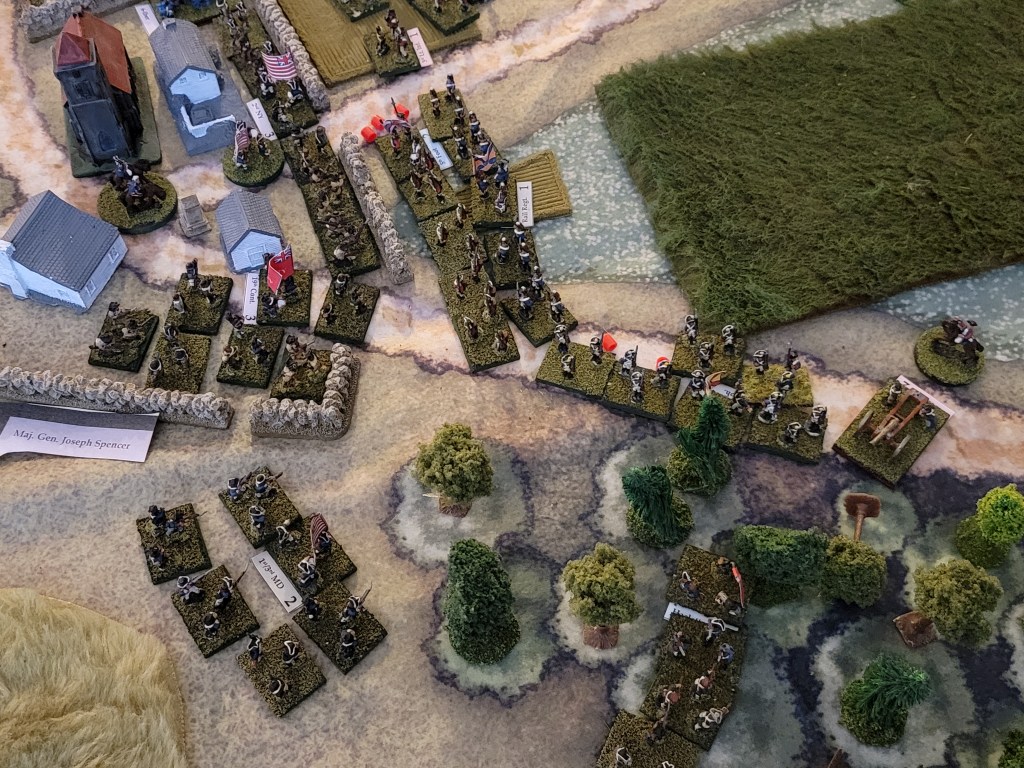
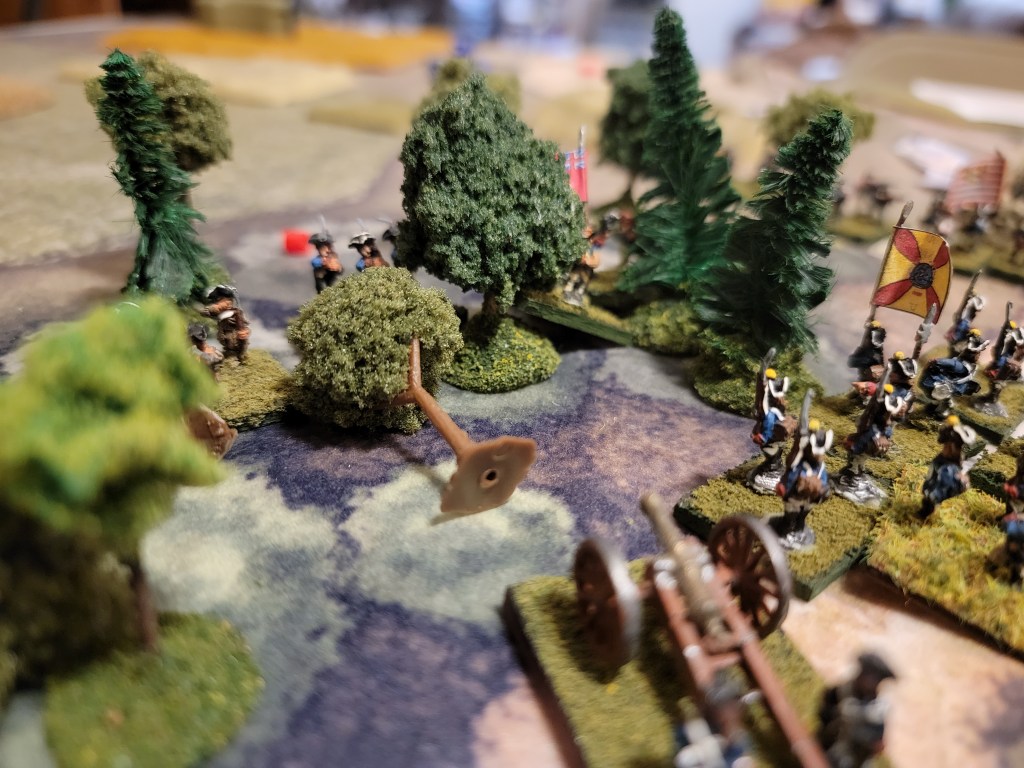
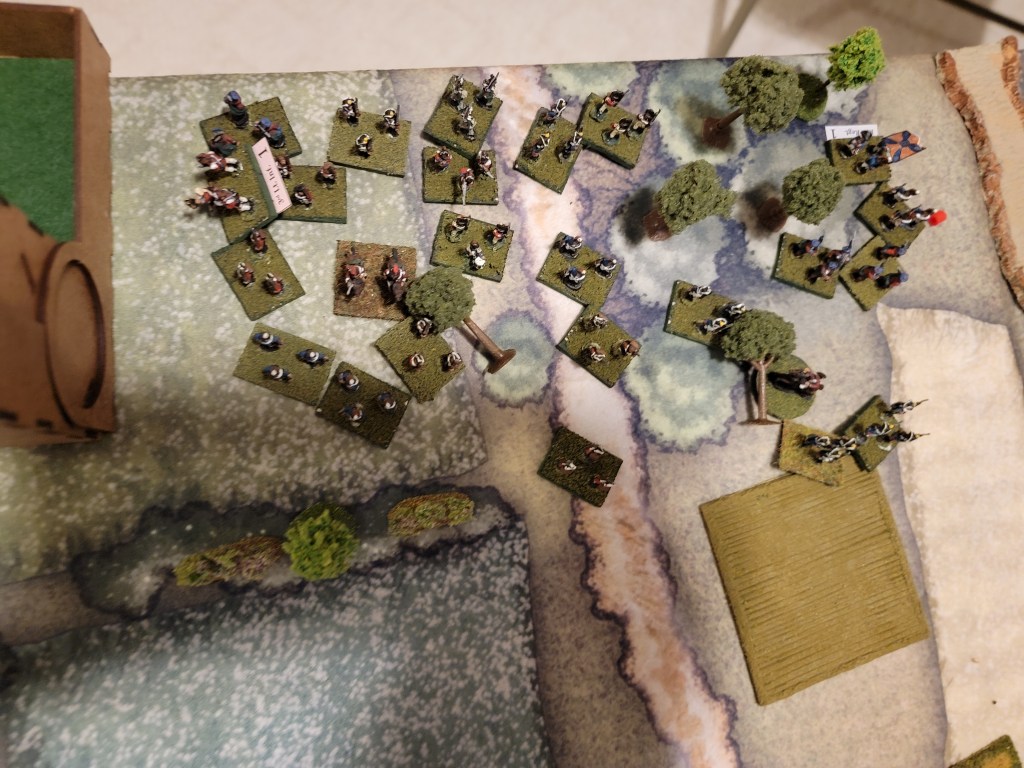
PENN Rifles defend a farm on the far right of the American line. 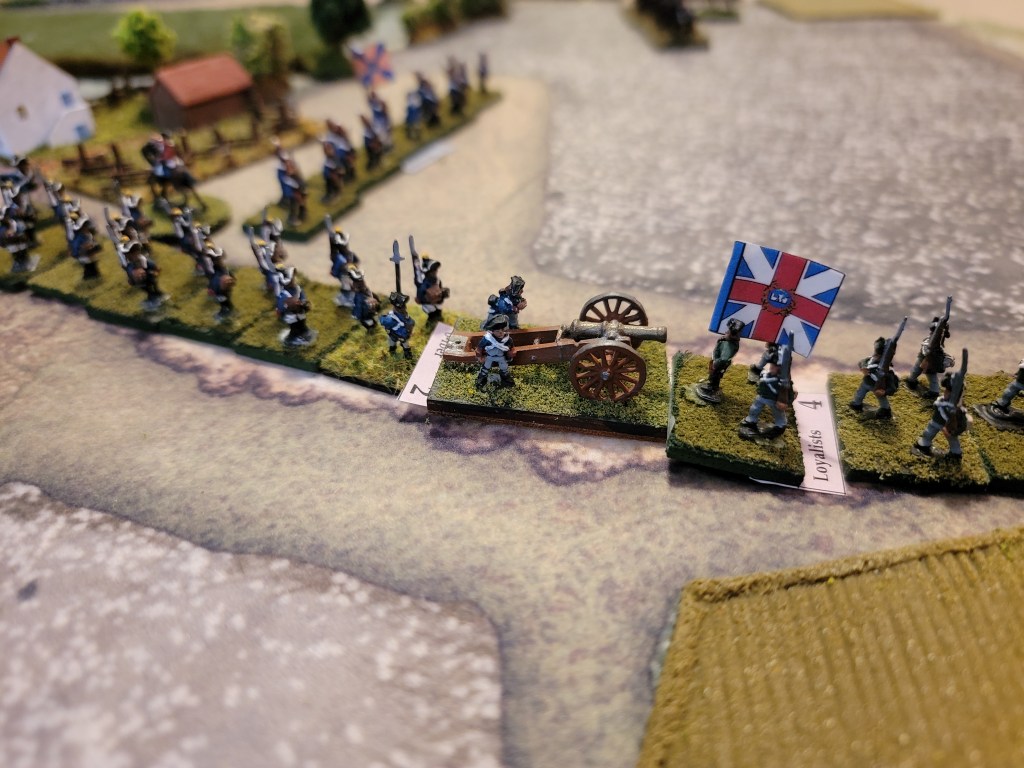
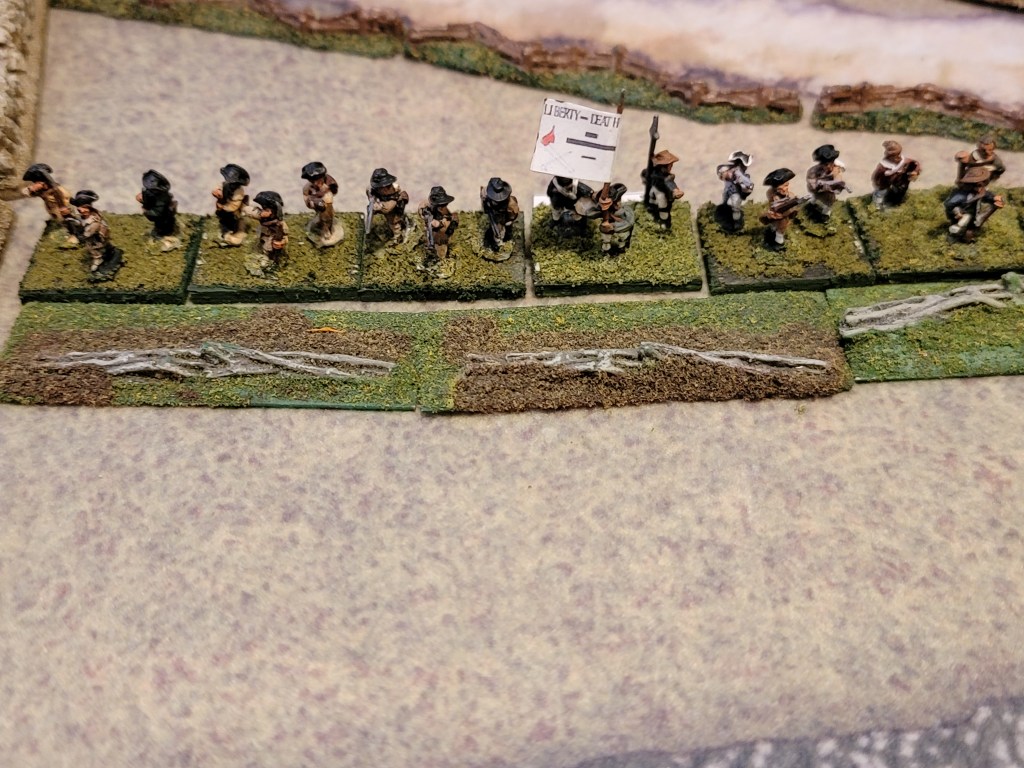
A Massachusetts Regt behind hasty works faces the grenadiers on the edge of Sutton 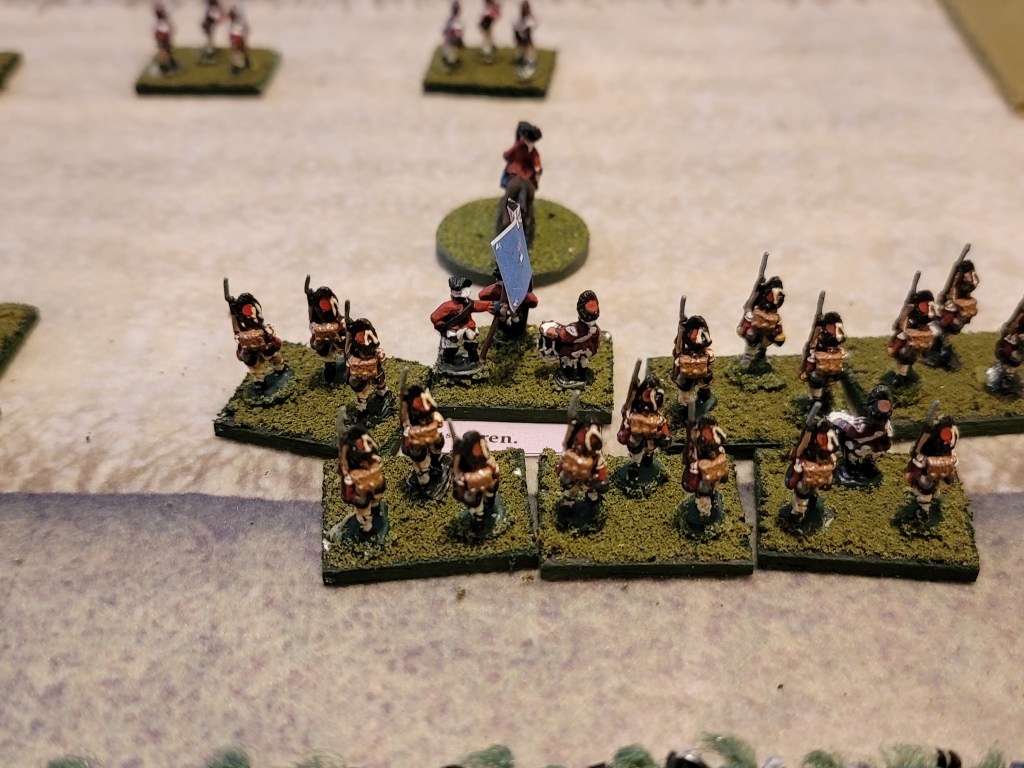
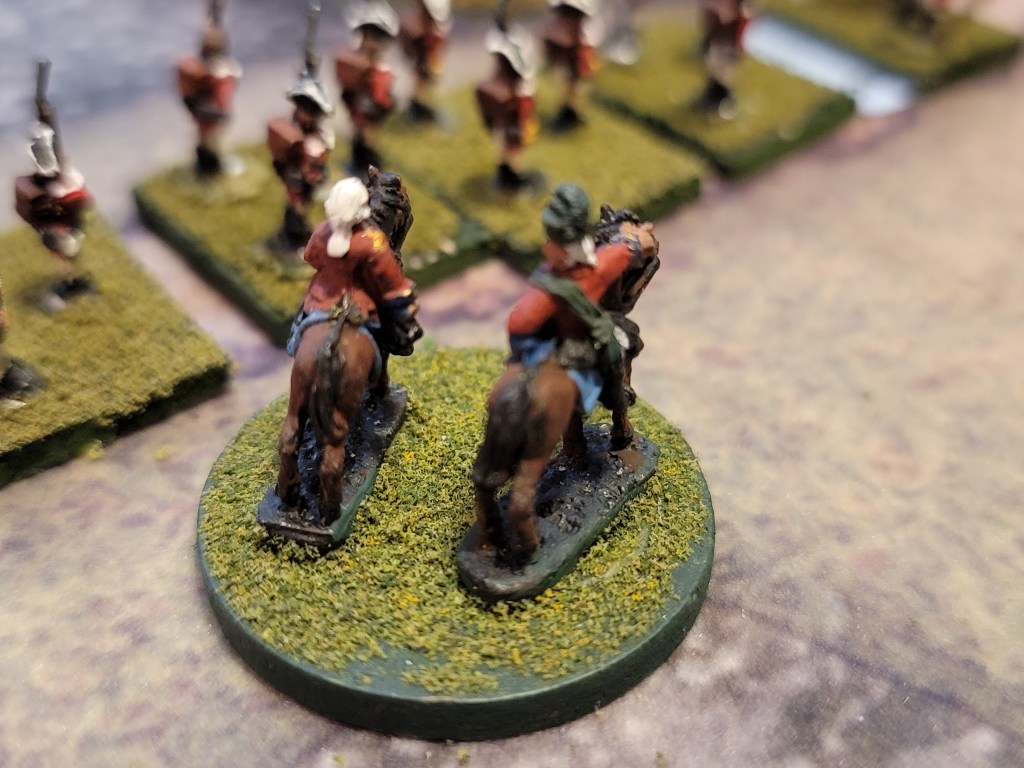
Heister surveys the scene around Sutton 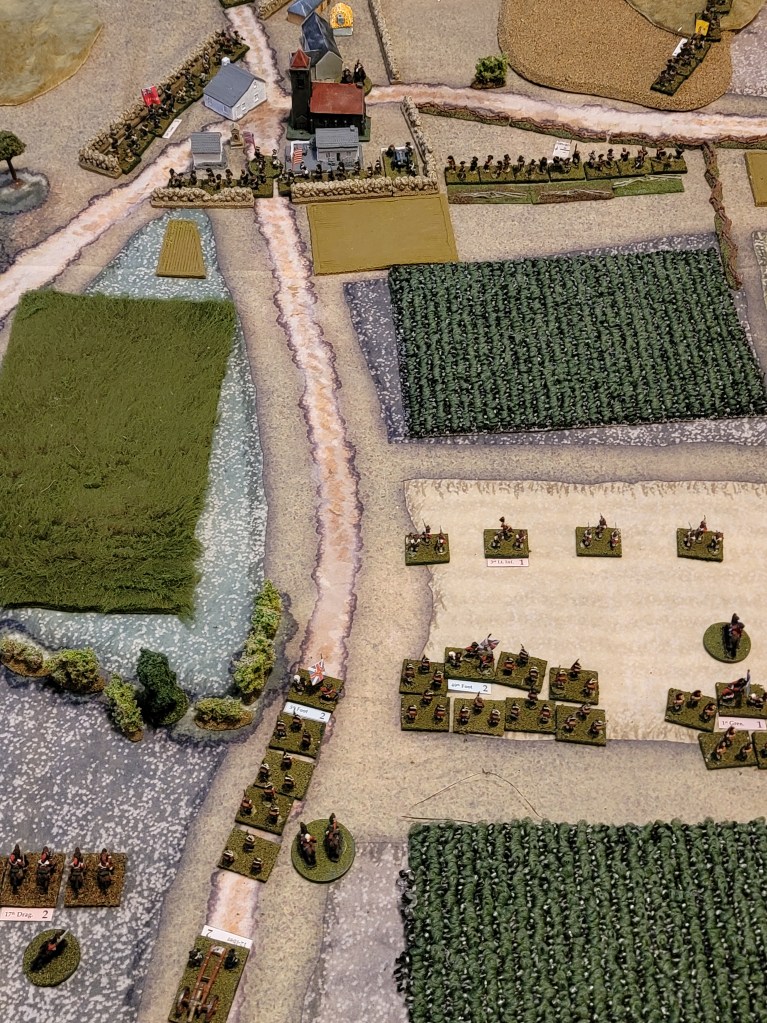

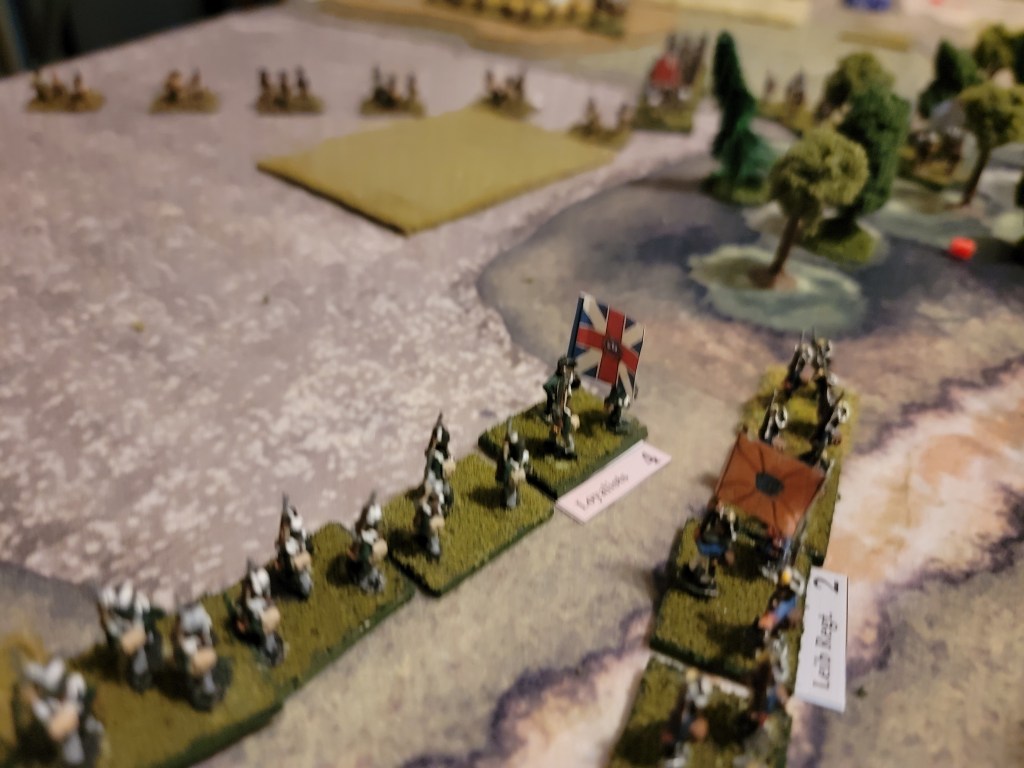
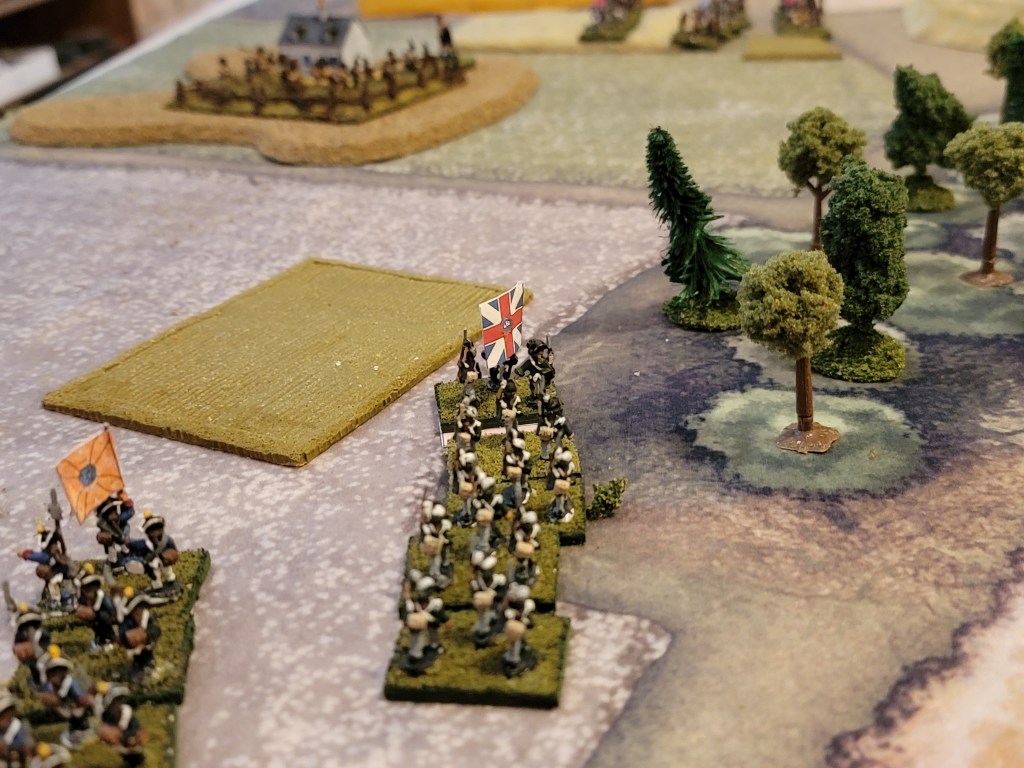
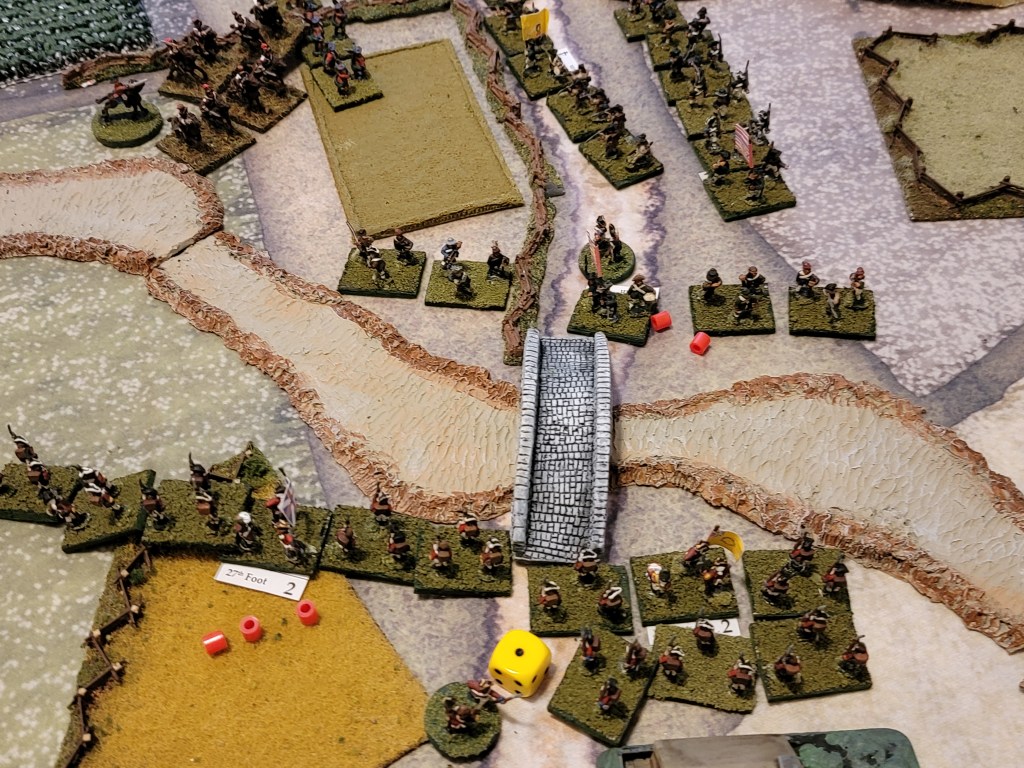
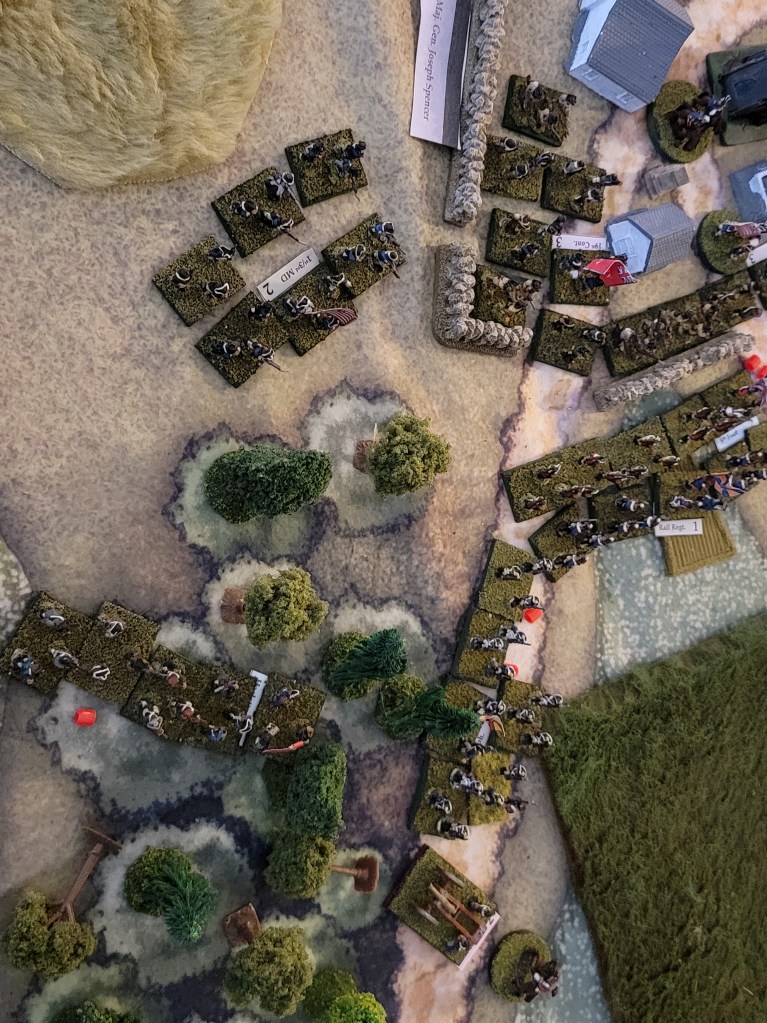
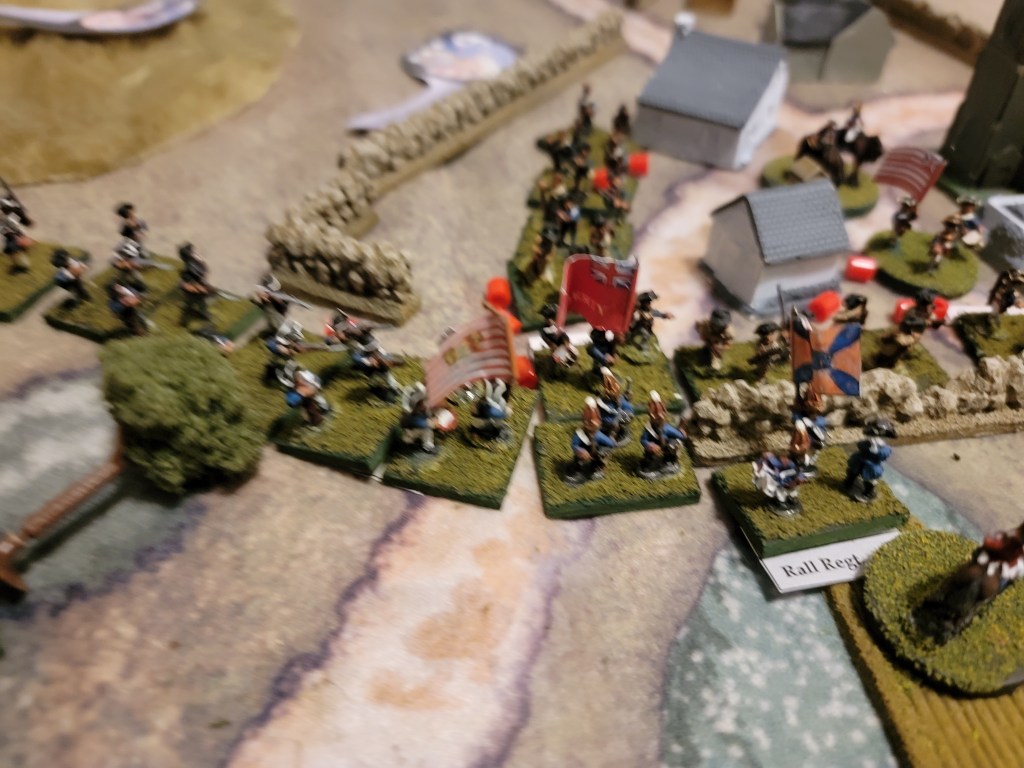
COL Leslie surveys Compton’s Corner before sending in his battalions 
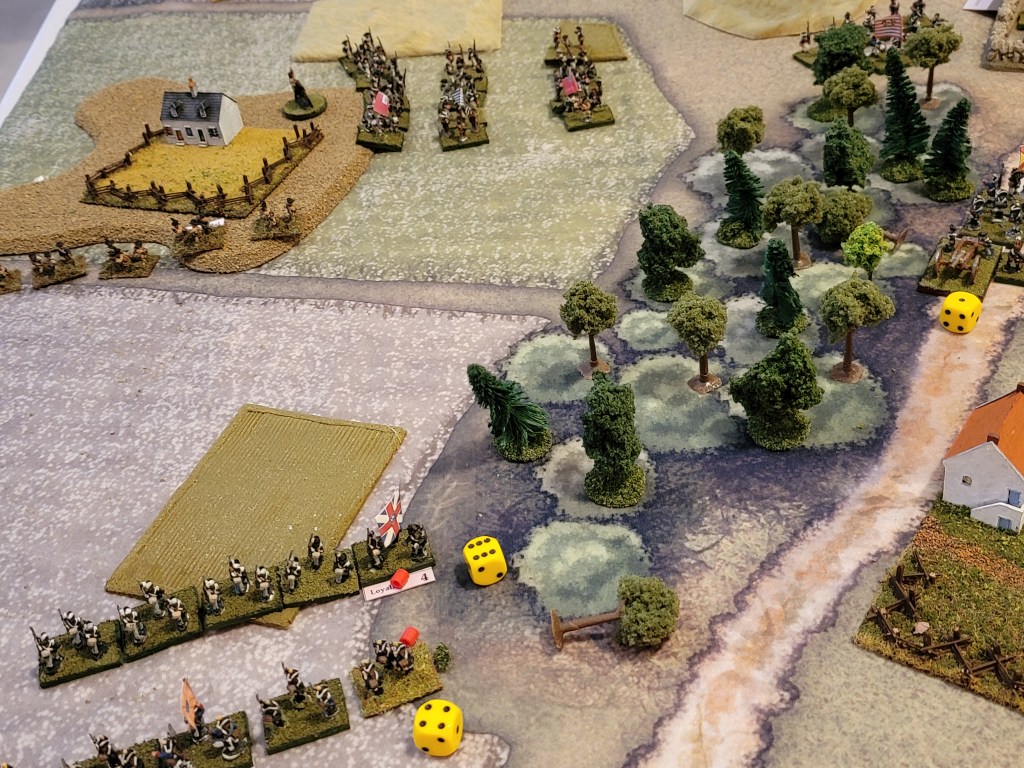
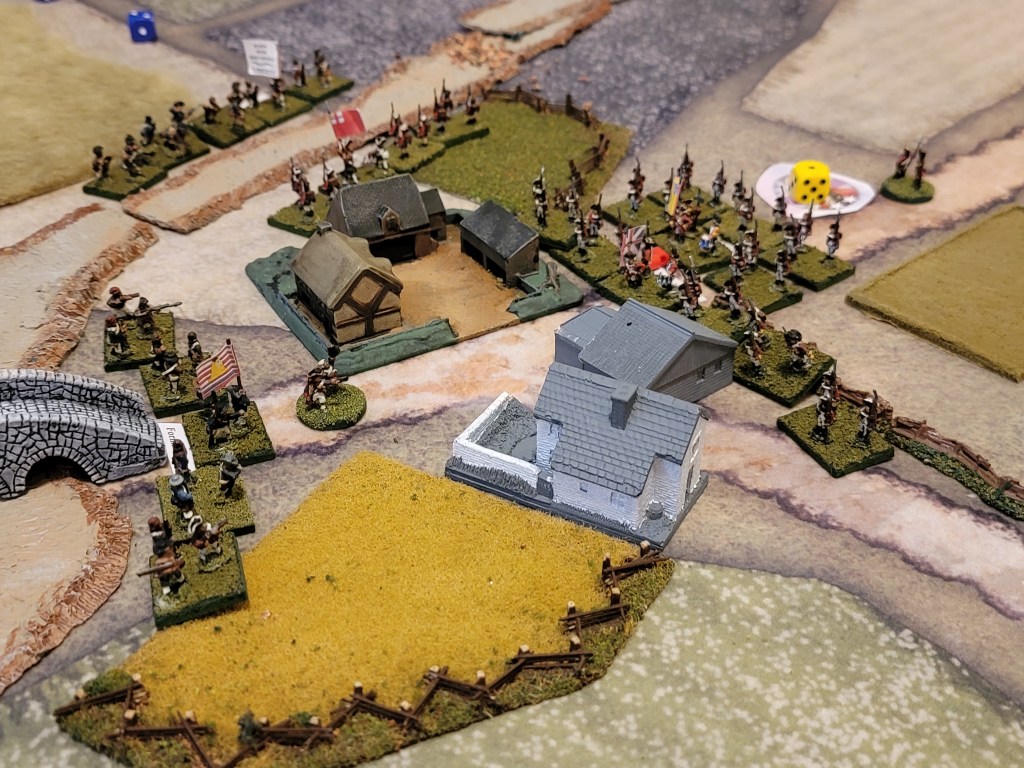
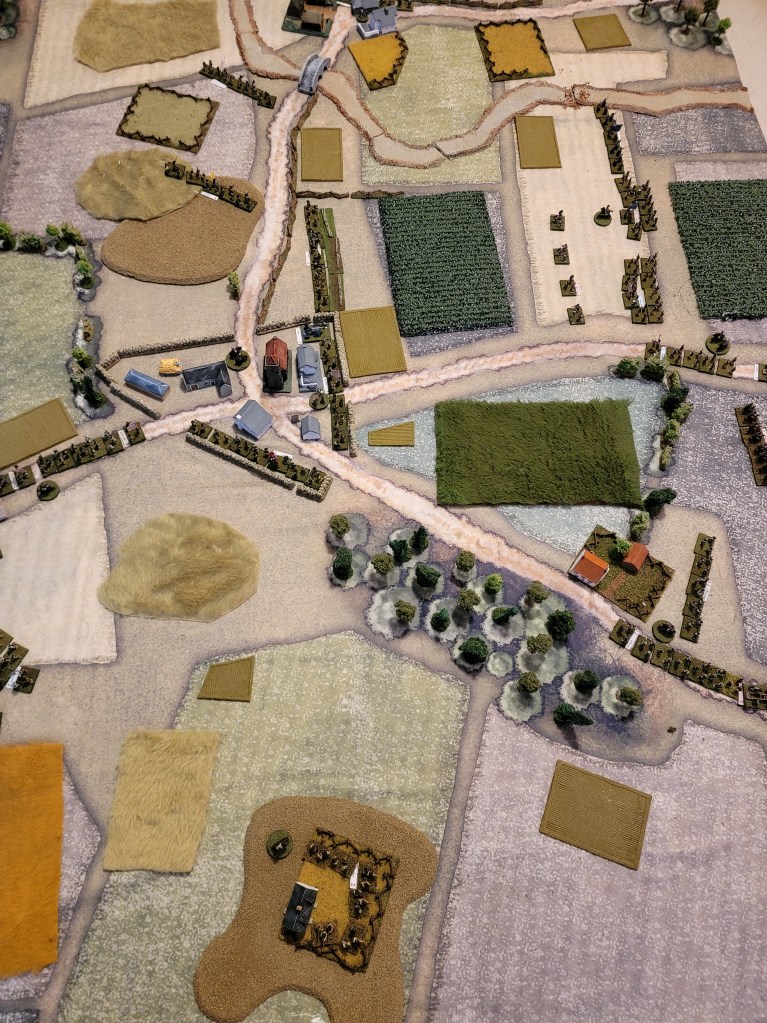
As usual, I don’t have a ton of time to describe the play by play but I did want to share the images. In short, the British (commanded by me) rushed toward Sutton, using the single battalion of lights to screen my battalions, with von Rall’s brigade securing the left along the woods. In the east around Compton’s Corner, Leslie rushed headlong to displace the one battalion of MA militia across the river. Of all the British brigades Leslie had the most success.

A handful of comments about the troops and terrain:
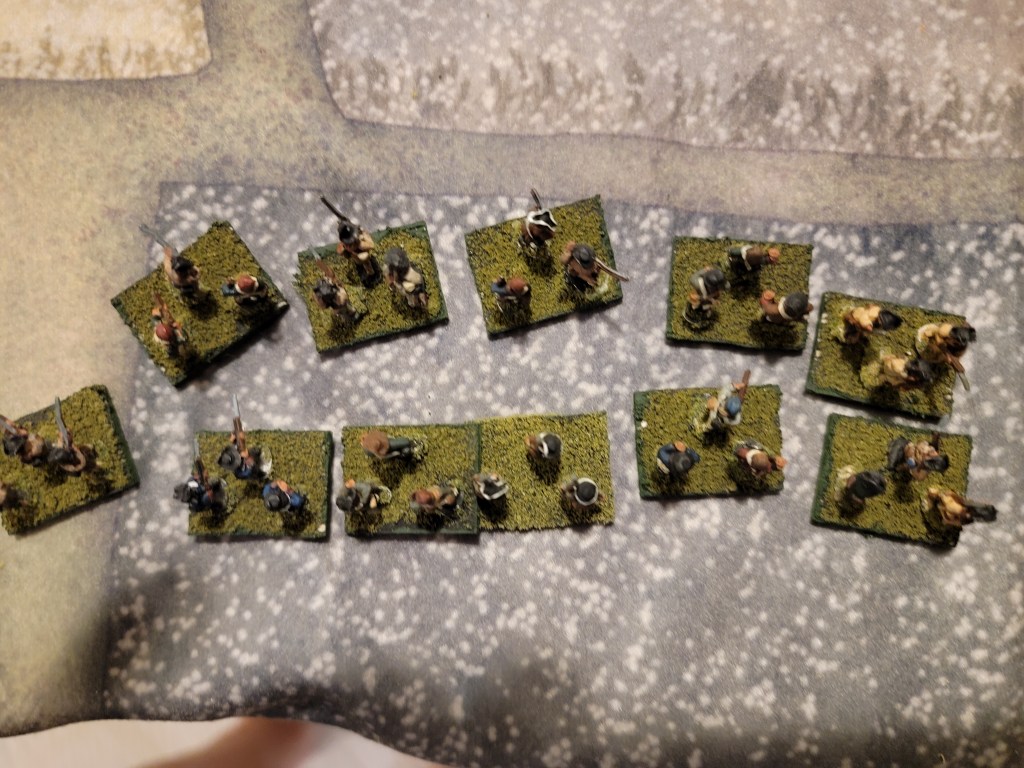
- All miniatures are from the Pendraken range for AWI
- Terrain matt by Cigar Box Battles
- Much of the terrain include trees, hedges, and fences by Pastimes on the Square (Palmyra, PA)
- Buildinga by Ebay 🙂
- Live Free or Die AWI rules by Little Wars TV.
How did it end you ask? The British were broken – with many units ground down trying to cause the Americans to break and move out of Sutton. It’s an old story really – an honest wargamer playing against his overly-lucky wargaming son. Bad dice rolls plagued the British. I think my son even felt bad for me for a while.
The Live Free or Die rules really scratched an itch for us. Their most distinct quality being their ability to discern differences in troop quality – a key feature for AWI rules. We really enjoyed them.
- Attacking troops in cover/ defenses will usually be challenging even for seasoned troops attacking lower quality troops
- We started to discuss adding modifiers and additional terrain rules, but almost always concluded that additional rules weren’t really necessary
- The leader stats and scenario balance were really subtle but made for a great game
- Having enough CP to launch multiple coordinated assaults on a position was very challenging.
Yes, I lost. Highly recommended!

Great looking game- glad you’ve been able to get one in.
Cheers,
Pete.
LikeLike
Q on the Casualties. Did you just count them from base losses due to melee or all bases lost (melee & DMZ’s) as csualties. We are having a debate on it in our club.
LikeLike
Peter – thanks and good question. When we played this game, we played with all bases lost. However, I felt like overall units went away quickly, so I think in a future game we may just count losses due to the current melee.
LikeLike